What you'll need:
- A fairly large-ish scrap of fabric
- Some medium-weight fusible interfacing
- White thread, a needle...and a sewing machine of course
**I'll apologise now for the inconsistencies in lighting - living so high up with an oddly placed window and sloping roof (I'm basically in the loft!) means I was totally subject to the variations in light/shade whilst making this!**
2. Create a paper template. I found this squared paper on the side of my desk after laminating some of my books which helped with the straight lines. Pin it to your fabric and cut out. (When placing it on the scrap, make sure it isn't on the bias as this will stretch your bookmark when it comes to sewing and it won't lie flat when finished!)
3. Cut out a piece of interfacing using the template. You should have two fabric pieces and an interfacing piece.
4. Pin the fusible interfacing to the wrong side of one of the fabric pieces, and iron it. Pin the interfaced fabric piece to the other fabric piece, wrong sides together. Measure out a 0.5cm seam allowance, and sew.
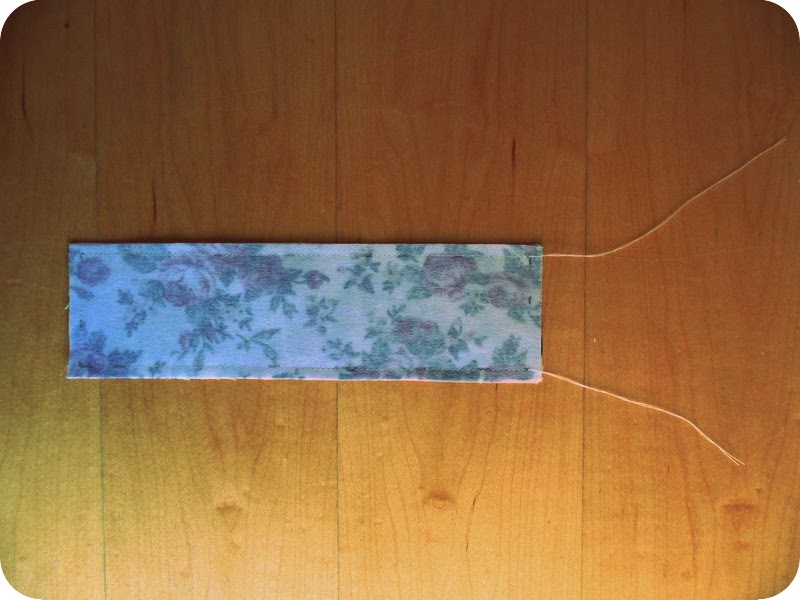
5. You should be left with something like this when you've finished sewing all the way around, but be sure to leave a gap at the top so you can turn it inside out.
6. On the bottom end of the bookmark, cut diagonally parallel to the points, and then again on the sides of this to remove the excess seam allowance. This will help to achieve a pointier finish once turned inside out.
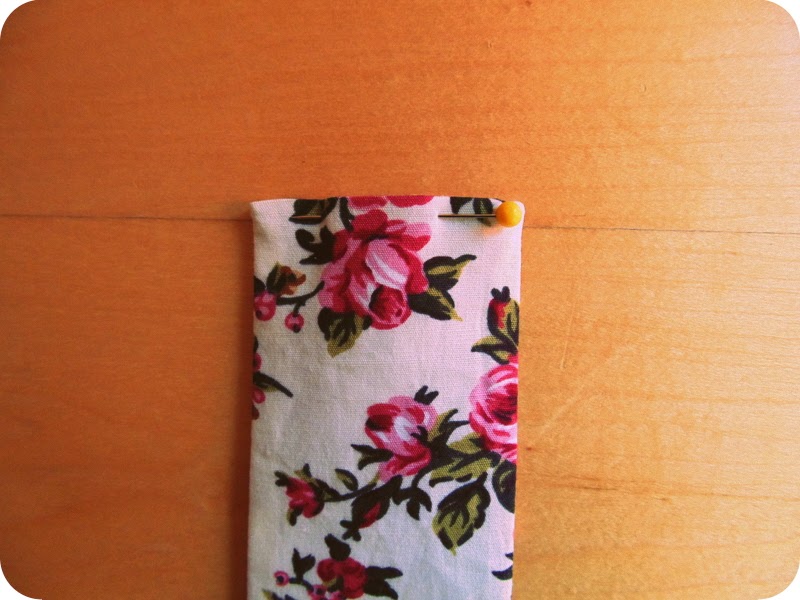
7. Turn it inside out. I used a ruler to get the corners and edges as neat as could be, before pressing it with my iron to set the seams. Fold inside the top end of the bookmark, ensuring that it is as level as you can get it. This is definitely the most fiddly part! Pin it once you reach a level of straightness (or get so tired playing about with it that you just want to move onto the next stage, as I did)
8. I don't really know how to describe this stitch...it's similar to a slip-stitch (I think). Using a needle, thread it through one side of the fabric closing, being careful to catch only the interior part of the fabric and not the visible outside part of the bookmark. Pull the thread through, then flip the bookmark over to the other side.
9. Do the same thing, pushing the needle a little behind from your previous stitch and pulling it through. Try to make sure your stitches are of an even spacing for neatness and consistency.
10. Press the edges of the bookmark to set the hand-sewn seam you've just created.
Here's some bookmarks that I made for a friend. So many prints! I decided to topstitch them. This is a great finishing technique, but isn't essential and they look nice either way.
Also - a purse made from some fabric scraps, too. Waste not, want not, and all that. The print reminds me of some kind of abstract artwork. I kind of wish I owned a painting of it.


